
Minecraft Dungeons 2 Beginner Guide
Start Minecraft Dungeons 2 with a clear plan: learn movement, follow quests, compare equipment, unlock enchanting and choose how to play.
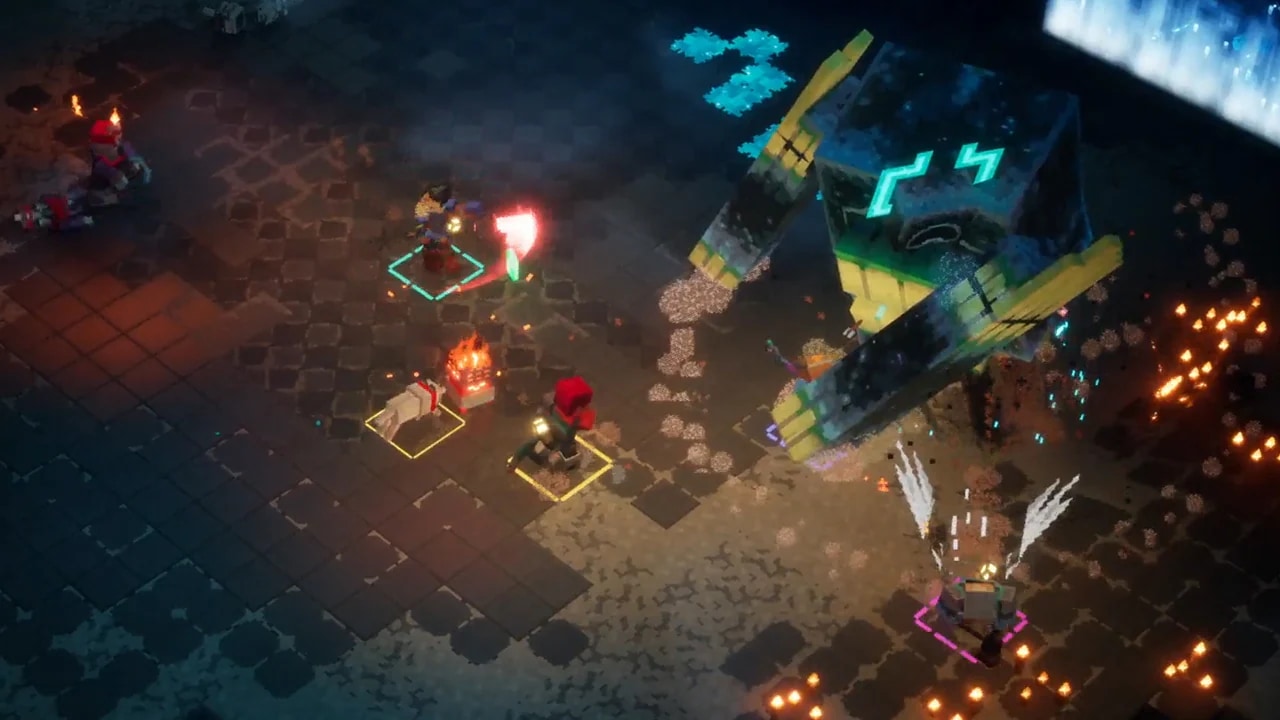

This Minecraft Dungeons 2 beginner guide gives you a practical order for learning the sequel. It applies to the shared systems on PC and consoles; it does not promise a level target, a timed route or an unverified early-game item drop.
1. Start Minecraft Dungeons 2 by learning movement
You can jump as well as dodge-roll. Jumping matters for exploration and can also be used in combat. In a safe space, identify your own platform’s movement and attack inputs before relying on a jump during a fight.
Start with a weapon whose behavior you understand. The weapon reference explains the broad roles without inventing a damage ranking.
2. Read the combat display before leaving the tutorial
Identify your health, potion, Souls, artifact slots, arrow count and experience bar on your own platform’s display. Try one melee strike, one ranged shot, a dodge and a jump in the tutorial so you can recognize what changed before a crowded encounter. Artifacts are active abilities; talismans provide passive effects. Read each item’s description before assuming a button or resource cost.
3. Keep a clear quest objective
Quests are divided into main quests and side quests. Follow a main objective when you want to continue the story; take a side quest when you want a detour. Rewards can include experience and gear, but that is not a promise that every side quest gives both.
Avoid importing the first game’s mission-select route. The sequel uses interconnected regions with settlements, travel hubs and other points of interest. The first-game comparison summarizes the confirmed system changes for returning players.
4. Use the map when the route stops making sense
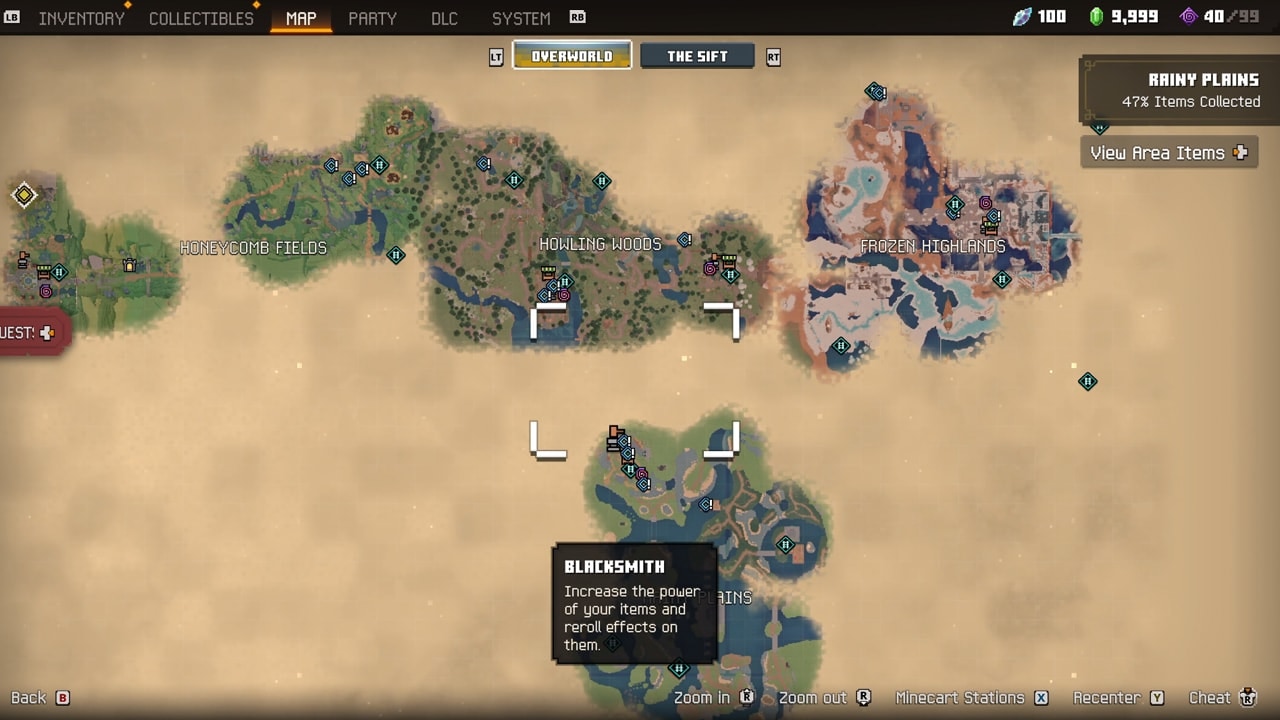
Caves and ruins can change their layout between visits. If a remembered turn no longer works, open the world map and orient yourself again rather than treating the difference as a bug. In co-op, teleporting to a nearby friend can help you regroup.
At a new settlement, check the available services and travel point before leaving. A launch-day editorial guide also describes a Guidance Trail toward the active quest; if it appears in your game, use it together with the map rather than treating it as a complete route through optional areas.
See world map and fast travel for a simple navigation routine.
5. Compare gear by its job
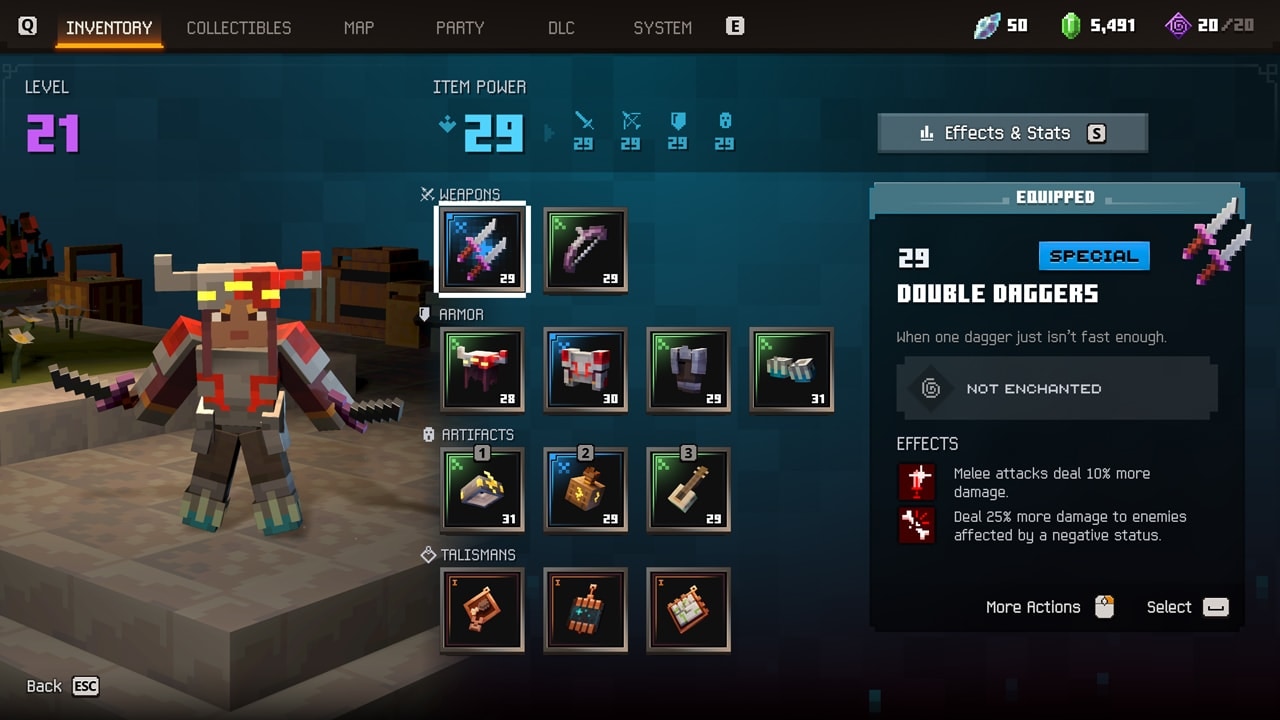
The equipment system has twelve combat slots. Helmet, chestplate, leggings and boots are separate pieces, and talismans provide passive bonuses. Read an item’s effect conditions as well as its name.
Use equipment and talismans to compare a replacement. Do not commit resources just because a guide labels an untested combination “best.”
6. Learn enchanting when it becomes available
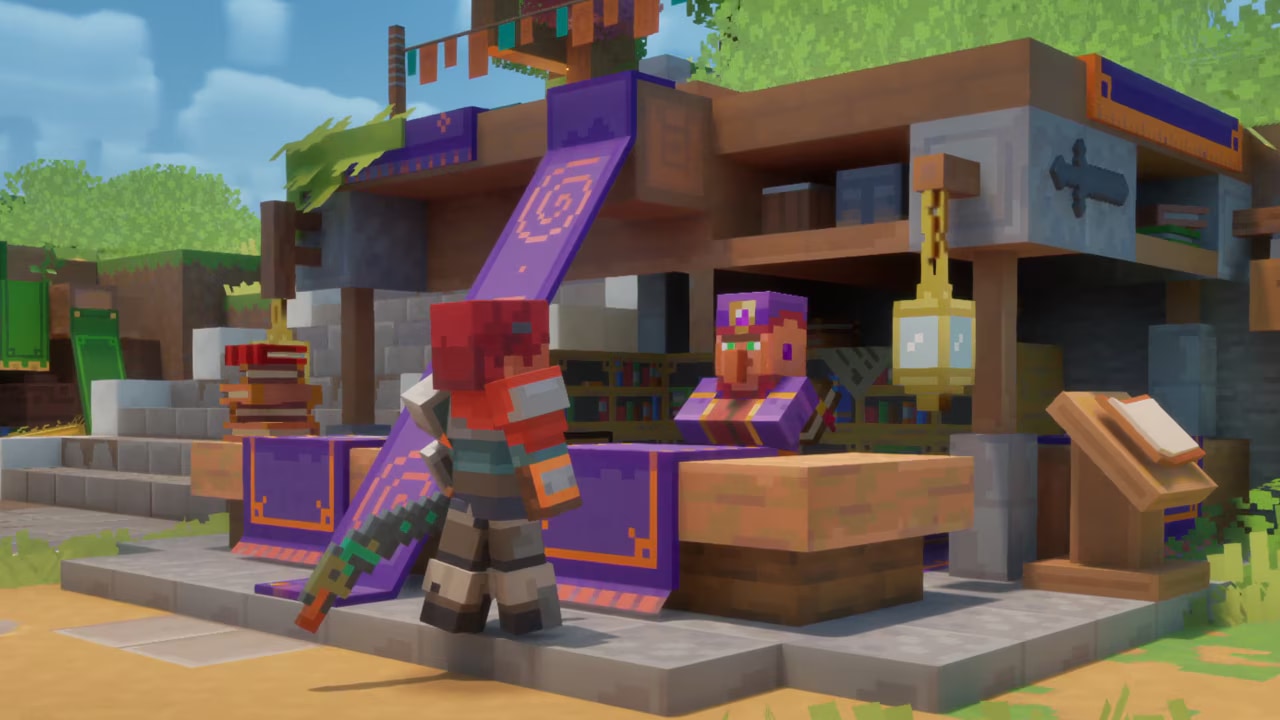
Enchantment books build a personal library of effects. The Enchantsmith applies eligible effects to gear, and effects can be upgraded. The enchanting walkthrough explains the resource checks and the order of decisions.
The enchantment reference groups reported effects by the decision they support. It is a starting point for reading your in-game options, not a fixed list of every effect or a universal build ranking.
7. Plan ammunition and your party
Ranged ammunition regenerates over time. That removes the need to treat it as a permanently finite arrow supply, but it does not mean endless shots without pauses. Read the ranged combat guide before building your strategy around continuous fire.
A party supports up to four players, with local, online and mixed options. Use the co-op guide to choose the arrangement that fits your group. The Sift is a new dimension within this adventure, not a different game you need to launch.
Keep exploring
guides
Minecraft Dungeons 2 Co-op & Crossplay Guide
Choose local, online or mixed co-op in Minecraft Dungeons 2. Understand the four-player limit, crossplay, matchmaking and party codes.
guides
Minecraft Dungeons vs Minecraft Dungeons 2: What Changed
Compare the first Minecraft Dungeons with Minecraft Dungeons 2: world structure, gear slots, enchanting, talismans and ranged ammo.
guides
Minecraft Dungeons 2: How to Enchant Gear
Learn how to enchant gear in Minecraft Dungeons 2: unlock the Enchantsmith, use your book library, check resource costs and upgrade effects.